
Aluminum Fishing Boat Factory Construction Methods That Prevent Leaks and Corrosion
2026-09-02
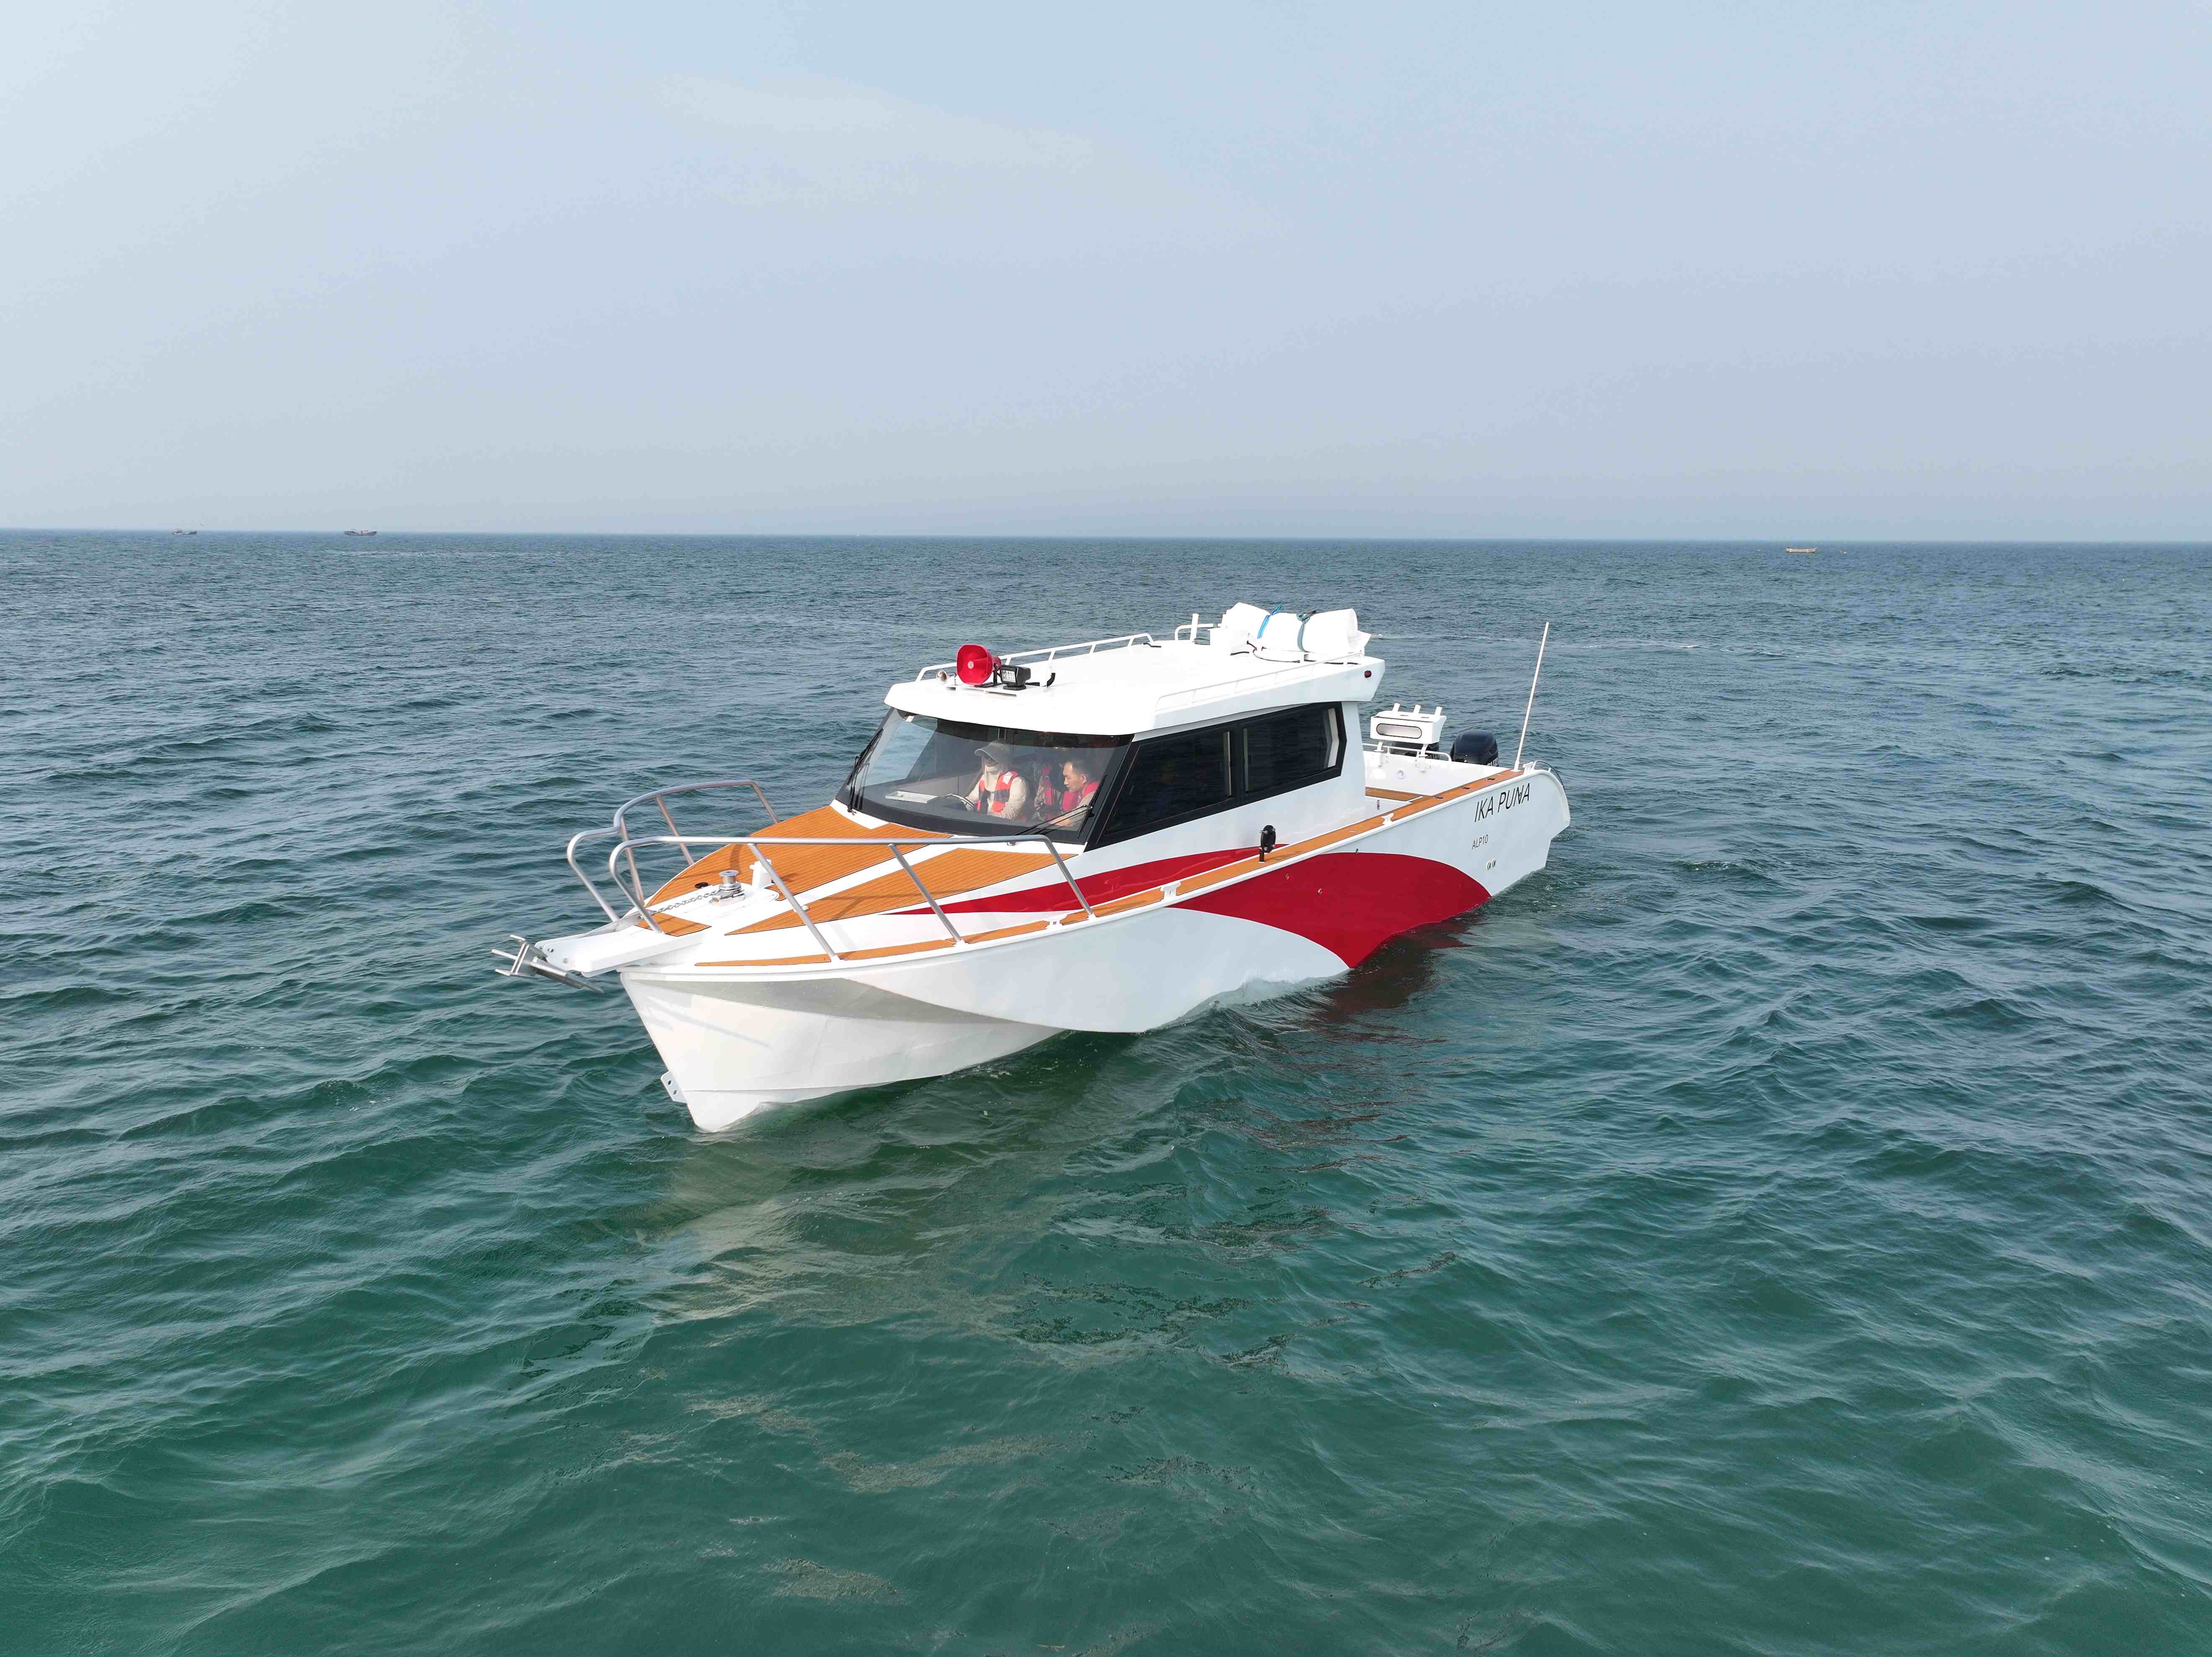
Every aluminum fishing boat starts as raw material, but only a few factories build hulls that stay dry and corrosion-free for decades. The secret isn't a single coating or weld—it's a combination of drainage design, precise welding sequences, and protective treatments that most builders skip. At Allheart, those leak- and corrosion-prevention methods are standard procedure, not an upgrade. In this post, you'll see exactly how a fishing boat factory can stop leaks before they start and keep aluminum from breaking down season after season.
Why Seam Welding Keeps an Aluminum Hull Dry
Aluminum hulls rely on continuous, fused joints to prevent water intrusion, and seam welding delivers exactly that. Unlike riveted or bolted seams that leave tiny gaps, a properly executed weld fuses the metal edges into a single, unbroken barrier. The heat of the arc melts the aluminum along the seam, and as it cools, the material solidifies without the microscopic channels that let moisture creep through over time. This is especially critical below the waterline, where hydrostatic pressure constantly probes for weaknesses.
The process also eliminates the need for gaskets, sealants, or fasteners that can degrade with exposure to salt, UV light, and repeated hull flexing. A welded seam moves with the hull as a homogeneous joint, rather than relying on a secondary layer that can crack or peel. That mechanical unity means fewer maintenance points and a longer dry-service life, even in rough conditions where the hull twists and pounds against waves.
Skilled welders control the heat input to avoid burn-through on thinner plates while achieving full penetration on thicker sections. The result is a seam that is often stronger than the surrounding base metal, turning the hull into one continuous shell. For boat owners, that translates to bilges that stay dry, compartments that don't sweat, and confidence that the hull's integrity won't quietly fail at a hidden lap joint.
Marine-Grade Alloy Choices That Resist Pitting and Crevice Corrosion
When seawater or chloride-heavy process fluids are involved, standard 304 or even 316 stainless often falls short once crevices form under gaskets, fasteners, or marine growth. A practical step up is 316L with its molybdenum addition, but for long-term immersion, duplex grades like 2205 (UNS S32205) offer a better balance of strength and pitting resistance. Their mixed austenitic-ferritic microstructure helps them shrug off localized attack that would quickly pit a conventional austenitic grade.
For harsher warm, stagnant, or brackish conditions, super duplex 2507 and 6% molybdenum super austenitics such as 254 SMO or AL-6XN are the workhorses. The higher chromium, molybdenum, and nitrogen content pushes the pitting resistance equivalent number well past 40, which translates into real resistance at shielded crevices and under biofouling. These alloys cost more, but they frequently eliminate the need for cathodic protection or coatings that demand regular maintenance.
When even those grades risk attack—think hot seawater, acidified crevices, or bleach cleaning cycles—nickel-based alloys like Alloy 625 or C-276 handle the chemistry with far less sensitivity to oxygen depletion. Titanium is another option: it is virtually immune to seawater pitting, though crevice corrosion can still appear above roughly 80°C unless a palladium-bearing grade is selected. Matching the alloy to actual temperature, flow, and crevice geometry matters more than chasing a single "best" material.
Sealing Rivets and Joints Before the First Leak Forms
Most leaks don't start as sudden failures. They begin as hairline gaps where a rivet shank meets metal, or where two panels flex just enough to break a bead. Waiting until water shows up on the inside means the damage is already underway—corrosion, delamination, mold. The moment to seal is before the first drip, when surfaces are clean and dry and the joint is still accessible.
A reliable seal starts with removing every trace of oil, dust, and old sealant. For riveted seams, applying sealant to the rivet shank before setting it, then covering the shop head afterward, creates a continuous barrier that moves with the structure. Thin-bodied polyurethane or MS polymer works into narrow laps better than a thick bead smeared across the top.
Joints need more than a surface film. Where panels overlap, a bead laid along the edge before fastening forces sealant into the void as the rivets pull tight. After assembly, tool the exposed edges to push material into any pinholes and leave a smooth transition. Recheck the backside after a few hours—if a void appears, fill it while the metal is still bare, not after rust has set in.
Factory Coatings and Anodizing That Stand Up to Salt Spray
Salt spray testing (ASTM B117) subjects coated metals to a continuous corrosive fog, often for 500 or 1,000 hours. Factory-applied finishes from reputable lines are engineered with this in mind, using high-solids polyesters or epoxy primers that cure to a dense, low-porosity film. Rather than a simple paint job, these coatings are laid down under strict oven profiles and film thickness controls, which is why they survive where field-applied touch-ups blister within days.
Anodizing takes a different route but achieves similar durability. The process grows an aluminum oxide layer from the base metal itself, then seals it in a hot nickel acetate or deionized water bath. This produces a surface that is not just a barrier but an integral part of the aluminum, so it cannot peel or flake. Salt spray testing of properly sealed Type II or Type III anodizing often shows no pitting after 1,000 hours, even on sharp edges that would wear through a painted coating.
For engineers sourcing components, the real test is not the glossy brochure but the salt spray certificate. Ask for actual test reports, not just a statement of compliance. Some manufacturers also run cyclic corrosion tests (CCT) that alternate salt fog with drying and humidity, which better replicates real-world exposure. The difference shows up in coastal installations, where standard finishes corrode in two seasons while a factory-coated or hard-anodized part keeps its integrity for a decade.
Drainage Paths Designed Into the Hull Frame
Rather than treating drainage as an afterthought, the hull frame incorporates a network of integrated channels that guide water away from structural dead zones. Scalloped openings along longitudinal stiffeners and angled limber holes through transverse webs create a continuous path toward the bilge wells. These cutouts are sized not just for normal accumulation, but for the sudden influx caused by green water on deck or a minor leak in a ballast tank.
The routing follows the hull’s natural curvature, using the slight incline of the bottom shell to keep water moving without relying solely on pumps. During rolling or pitching, the channels prevent ponding in pockets between frames and plating. Shipyards often refine the opening placement with full-scale mockups or simple flow tests, since a few millimeters of misalignment can leave a persistent wet spot that accelerates coating breakdown and corrosion.
Pressure Testing Every Hull Before It Leaves the Factory
Each hull gets lowered into a dedicated test bay where we pressurize the interior to 1.5 times its rated working load. That extra margin isn't just a number on a spec sheet—it's the difference between a boat that survives a hard grounding and one that cracks open at the first rock strike. We hold that pressure for a full 30 minutes while a technician walks every weld and seam with a soap solution, watching for even the smallest bubble trail.
What catches most manufacturers off guard isn't the burst test—it's the cycling phase. After the initial hold, we cycle the pressure between zero and maximum working load 200 times. Hairline fractures that never show up in a single test will open up under repeated stress. If a hull passes the cycling, we know it can handle years of pounding through chop without developing slow leaks.
Every unit gets a serial-numbered pressure certificate that records the exact test date, peak pressure, and cycle count. We keep those certificates on file for ten years—not because a regulator demands it, but because if a customer ever questions their hull's integrity, we can pull the raw test data and show them exactly what that hull endured before it left our floor.
FAQ
We rely primarily on pulse MIG welding for long hull seams, using 5356 filler wire and an argon/helium mix to reduce spatter and improve penetration. Continuous welds are laid on both sides of the chine and keel, and backer bars with ceramic tape are used in tight spots to prevent burn-through and porosity. Every welded seam gets a vacuum box test before paint.
All fasteners are either marine-grade 316 stainless or aluminum with an insulating washer. We apply a zinc chromate primer and a polyurethane sealant around every penetration before bolting. The factory also isolates dissimilar metals with nylon or Teflon washers, and we keep a strict no-copper-based anti-fouling policy on the hull.
For the bottom and sides we use 5086-H116 or 5083-H321. These alloys have excellent resistance to saltwater pitting and stress corrosion cracking. We avoid 6061 for hull plating because its copper content makes it far more prone to galvanic corrosion when scratched or exposed to bilge water.
The transom is welded to the bottom and side sheets with a full-penetration fillet, but we also add a double row of structural adhesive and a thick neoprene gasket before welding. The splashwell drain tubes are flared and then sealed with a marine polyether adhesive, then wet-tested under 5 psi air pressure while immersed.
Each hull goes through three stages. First, a bright light inspection inside the hull while the outside is dark to spot pin holes. Second, every welded seam is vacuum-box tested with soapy water. Third, the finished boat is filled with 6 inches of water and left for 24 hours, with any weeping marked and re-welded before final paint.
Yes, zinc anodes are standard, but they are never bolted directly to the aluminum. We use a stainless steel stud embedded in a plastic isolation pad, and the electrical bond is made with a tinned copper wire to a dedicated interior bonding plate. Anode placement is calculated for wetted surface area and isolated from trim tabs and transducers.
Trapped moisture is the killer. We address it by ensuring every frame has limber holes at the lowest point, all interior compartments are coated with a non-porous epoxy barrier, and no bare aluminum is left under foam flotation. We also avoid using pressure-treated wood or copper-based sealants anywhere inside the hull.
The heat-affected zone loses its temper and becomes more anodic. We passivate all weld areas with a citric acid wash, then immediately apply a chromate conversion coating before priming. For critical areas like the keel weld, we also shot-peen the surface to restore compressive stress and reduce micro-cracking.
Conclusion
At the core of a leak-free aluminum fishing boat is the way its hull is joined. Instead of relying on intermittent fasteners, builders run continuous seam welds along every major joint, creating a single, uninterrupted barrier that stops water from finding a way through. The choice of alloy matters just as much as the weld itself. Marine-grade aluminum, typically from the 5000 series, resists the pitting and crevice corrosion that plague lesser metals in saltwater. These alloys develop a stable oxide layer that actually repairs itself when scratched, so minor surface damage doesn't turn into a slow leak. Before any rivets or mechanical fasteners are added, the factory applies a high-quality sealant to each hole and lap joint, filling microscopic gaps that welding alone might miss.
Once the hull structure is complete, the factory moves to protective coatings and anodizing. A properly cured epoxy primer or anodized finish forms a hard shell that shrugs off salt spray, while also giving the aluminum a smoother surface that resists biofouling and staining. Inside the hull frame, drainage paths are designed in from the start—small channels and scuppers that direct any trapped water toward the bilge or transom drain, so moisture never sits against the metal for long. Finally, before a boat is crated and shipped, the factory runs a pressure test on every hull. This usually means sealing the boat and pressurizing the interior with air, then watching for pressure drop or applying soapy water to the outside to spot even the tiniest pinhole. Only after that test passes does the boat leave the floor.
Contact Us
Contact Person: Benny Hu
Email: [email protected]
Tel/WhatsApp: +8618354225697
Website: https://www.allheartmarine.com/